News

Troubleshooting Common Demolding Issues in Concrete Production

2026-08-12 0 Leave me a message

For concrete block producers, the demolding stage is where productivity and product quality stand or fall. When concrete sticks, cracks, or surfaces are flawed during demolding, the costs in downtime, waste, and rejected product accumulate quickly. Understanding the root causes of these common issues—and knowing how to fix them—is essential for maintaining an efficient production line.

At Fujian Unik Mould Technology Co., Ltd., we have been engineering high-performance concrete moulds since 2010. Drawing from our experience serving 28 export markets, here is a practical troubleshooting guide to the most frequent demolding problems.

Problem 1: Blocks Stick to the Mould During Demolding

Sticking is one of the most common and frustrating issues in concrete production. It slows down cycles, damages both the mould and the product, and can bring a line to a halt.

Likely Causes:

Insufficient or uneven release oil application

Low-quality release agent that does not match the concrete type

Cavity surface wear creating friction points

Improper demolding timing—either too early or too late

Stiff, low-workability concrete mix

Solutions:

Apply a thin, even layer of professional release oil across all cavity surfaces

Re-polish mould cavities to restore a smooth surface finish (UNIK recommends Ra 1.6)

Maintain a consistent demoulding time, ideally 10–15 seconds post-vibration

Adjust your concrete mix to improve flowability and reduce stickiness

Problem 2: Blocks Have Air Holes or Surface Voids

Air holes on the surface of finished blocks are more than a cosmetic concern—they can compromise structural integrity.

Likely Causes:

Insufficient vibration, preventing trapped air from escaping

Overly viscous concrete mix that traps air bubbles

Poor feeding distribution, leaving air pockets in the cavity


Use of oil-based release agents that can trap air at the mould surface

Solutions:

Recalibrate vibration frequency to the recommended 50–60 Hz range

Improve concrete fluidity by adjusting the mix design or adding plasticizers

Ensure even and complete feeding across all cavities

Consider using water-based release agents, which have been shown to produce better surface quality than oil-based alternatives

Problem 3: Cracks or Hairline Fractures on Block Surfaces

Cracked blocks are a direct loss of material and labour.

Likely Causes:

Mix is too dry, reducing green strength

Inadequate curing time before demolding

Improper vibration—either too low or too high

Mechanical stress from sticking during demolding

Sudden temperature changes after production

Solutions:

Increase water content or add a plasticizer to the mix

Extend curing time to 24–48 hours before demolding

Adjust vibration to the correct frequency for your specific block size and shape

Ensure smooth demolding and proper cavity lubrication to prevent sticking

Problem 4: Rough or Grainy Block Surfaces

A rough surface finish affects both aesthetics and saleability.

Likely Causes:

Worn or scratched cavity surfaces

Dried cement residue left in the mould from previous cycles

Poor-quality release oil

Over-dry concrete mix

Solutions:

Re-polish cavity walls to restore the smooth surface finish

Clean mould immediately after each shift to prevent cement build-up

Use a proper release agent (avoid using diesel or other substitutes)

Increase the proportion of fine sand or adjust the water–cement ratio

Problem 5: Uneven Corners or Broken Edges

Damage to the edges and corners of blocks is often a sign of mechanical stress during demolding.

Likely Causes:

Worn or damaged cavity corners

Hard demolding due to sticky mix

Excessive vibration causing edge fragility

Incorrect curing or drying too fast

Solutions:

Repair or replace damaged cavity inserts

Apply release oil evenly across all surfaces

Balance vibration to avoid over-compaction

Keep curing conditions stable and shaded

Problem 6: Micro-Tears and Surface Discolouration

Micro-tears and grey discolouration can appear on block surfaces, particularly affecting premium products where appearance matters.

Likely Causes:

Adhesion between the concrete and the mould surface during demolding, known as "tampershoe adhesion"

Formation of "bloom" on blocks made with white cement

Solutions:

Optimise the demolding timing and release agent application

For white cement products, carefully control curing conditions and release agent selection to prevent bloom formation

Problem 7: Block Size Variation Between Cycles

Inconsistent block dimensions indicate a problem with mould stability or machine alignment.

Likely Causes:

Mould frame deformation from long-term vibration fatigue

Loose bolts or misaligned cavity inserts

Machine vibration imbalance

Uneven feeding or inconsistent mix

Solutions:

Tighten all bolts using a torque wrench to ensure proper alignment

Check alignment pins and replace any that are worn

Adjust vibration motors for balance

Standardise feeding and mix consistency

The UNIK Approach: Prevention Through Design

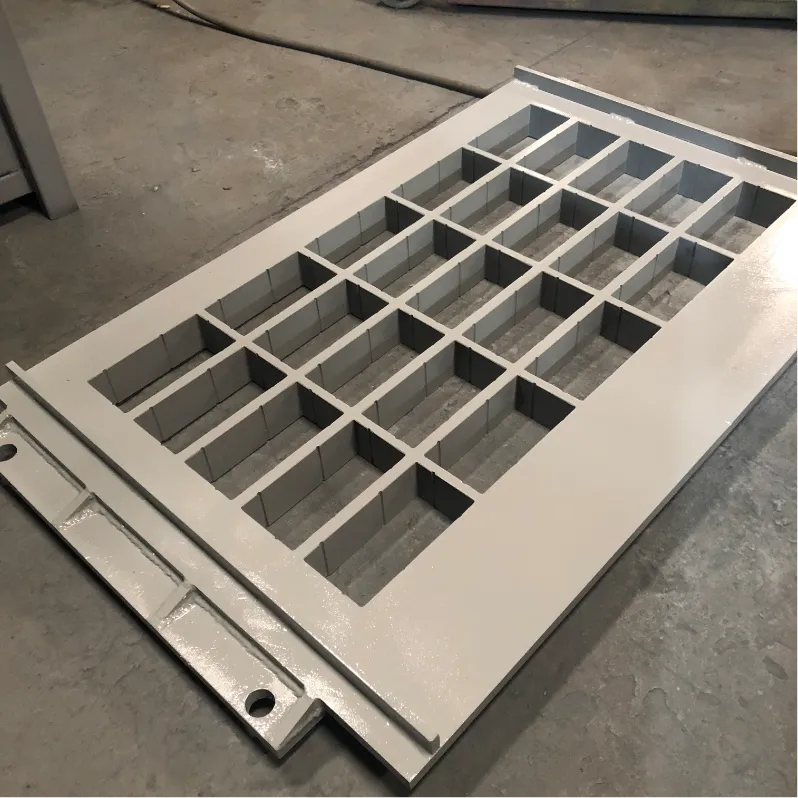
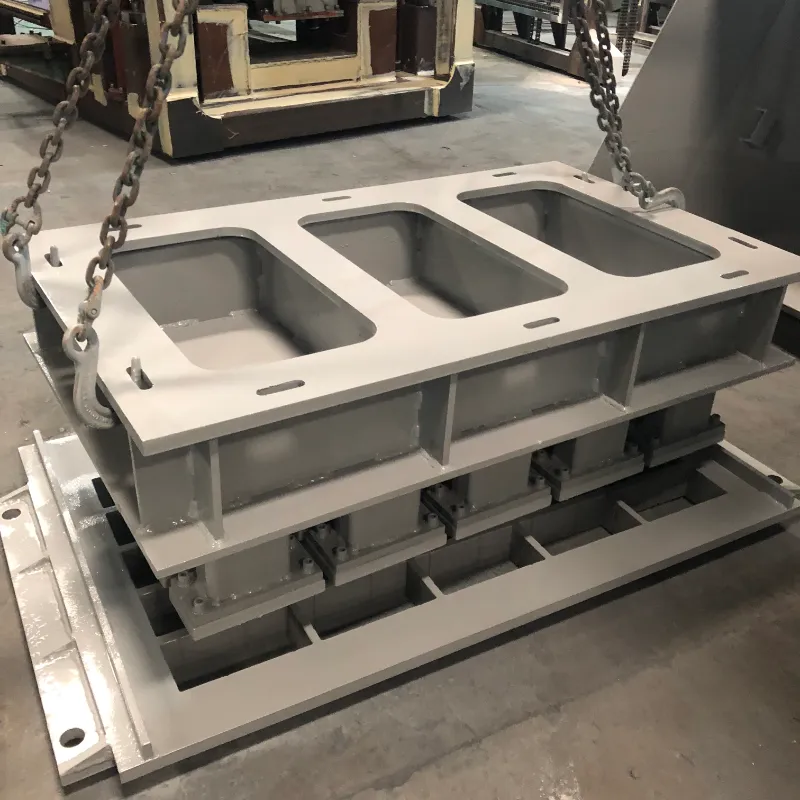
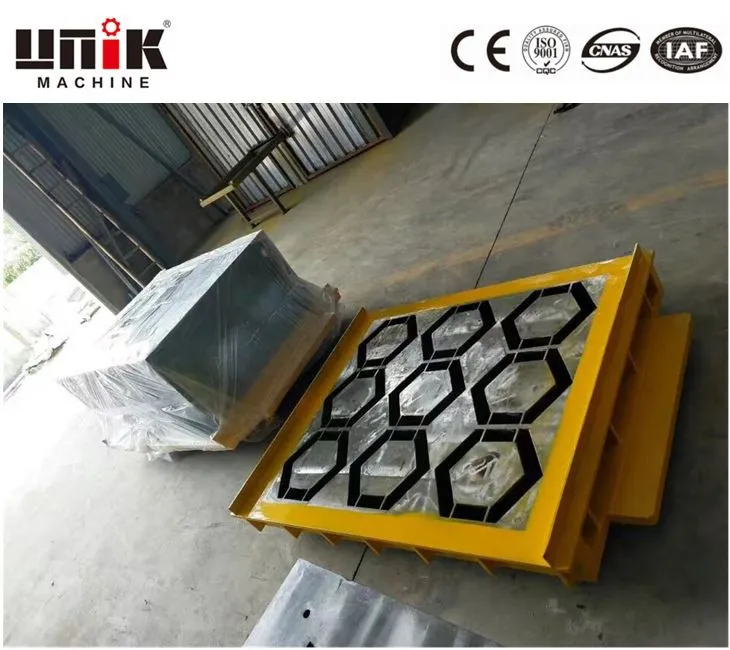
Complete concrete block mould assembly, mould cavity panelHeavy‑duty concrete block production mould for brick making machine

Many demolding issues can be prevented through proper mould design and material selection:

Draft Angle: A proper taper on cavity walls is essential for clean demolding. Without it, blocks will stick regardless of release agent quality.

Corner Radius: Sharp 90-degree corners are stress points where cracking initiates. UNIK designs incorporate 3-5mm radiused corners to reduce edge damage.

Surface Finish: A polished cavity surface (Ra 1.6) reduces friction and improves demolding performance by up to 30%.

Heat Treatment: Proper carburizing achieves surface hardness of HRC58-62 while maintaining core toughness, reducing wear that leads to sticking.

Steel Grade: Using high-grade materials such as 42CrMo or tool-grade steels ensures the mould maintains its shape and surface quality across 80,000–100,000 cycles.

Conclusion

Most demolding problems are predictable and preventable. By systematically identifying the root cause—whether in mix design, vibration settings, release agent application, or mould condition—you can implement targeted solutions that reduce waste and downtime.

A well-maintained mould can last 80,000–100,000 cycles while maintaining perfect block surface quality and operating smoothly on high-speed automatic lines. With proper troubleshooting and high-precision mould engineering, you can keep your production line running efficiently with lower defect rates and minimal interruption.

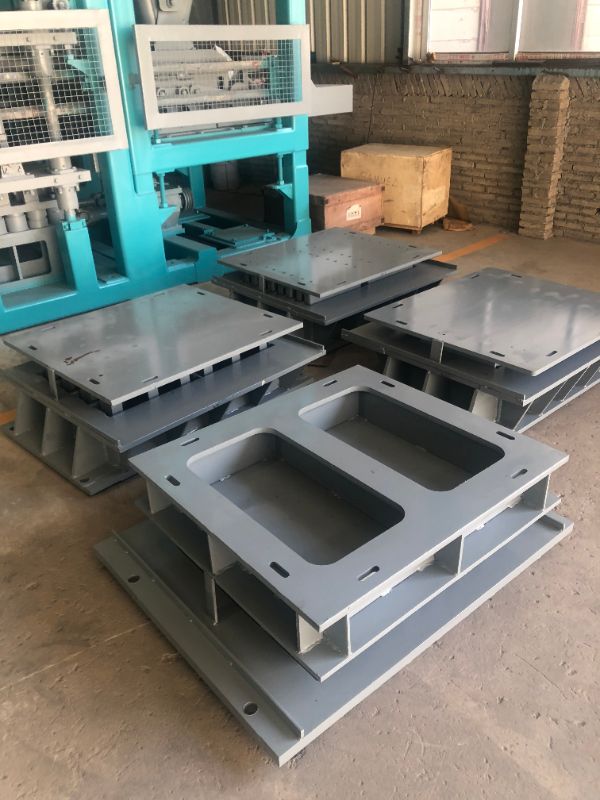
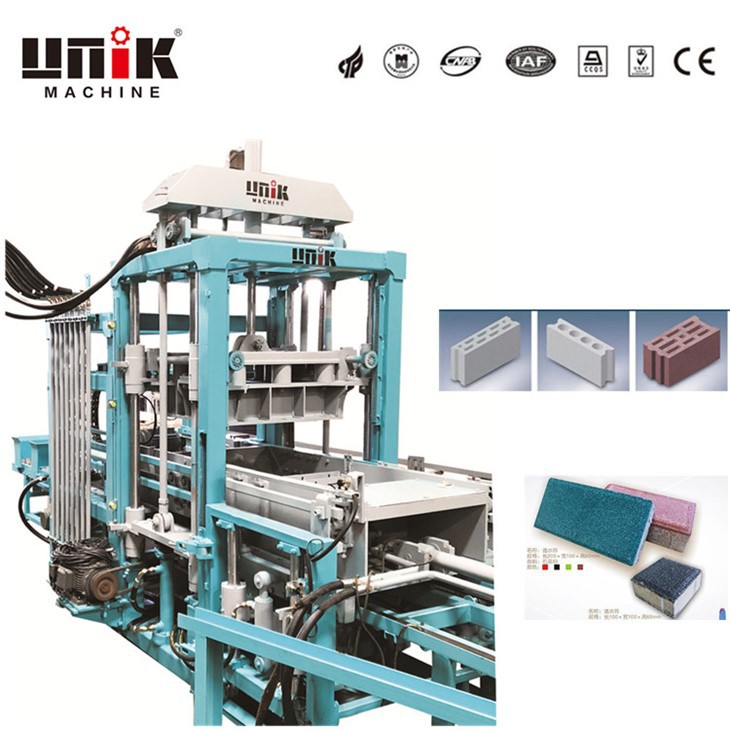
 Multiple finished concrete moulds beside block making machine

Related News
Leave me a message
X
We use cookies to offer you a better browsing experience, analyze site traffic and personalize content. By using this site, you agree to our use of cookies.Privacy Policy
RejectAccept